How to Set the 3 Point Lighting for Film?
1. The concept
The process of setting up lights is called “lighting” for short. Although it is said that a complex scene is lit by 100 lighting engineers, there will be 100 different schemes and effects, but there are several principles of lighting that everyone will abide by. For indoor renderings and indoor photography, a well-known and classic lighting theory is “three-point lighting”.
Three-point lighting, also known as area lighting, is generally used for smaller-scale scene lighting. If the scene is large, you can split it into several smaller areas for lighting. Generally, there are three lights, which are main light, auxiliary light and background light.
Three-point lighting is the standard form of professional lighting in video production and still photography. It involves using three types of light sources (key light, fill light, background light) placed in three different locations. By adjusting the size, distance, intensity and position of these light sources, including their angle, you can control how light and shadows fall on objects, creating different moods.
2. The components
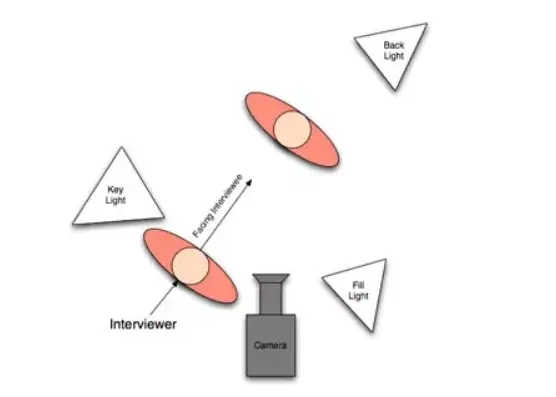
This is the main and brightest light source in a three-point lighting setup, and it gives the scene its overall exposure. Photographers typically place the key light slightly off the side of the camera and the front of the subject, on a light stand at a 45-degree angle to the camera, which creates a shadow on the other side of the subject’s face, giving it size and depth.
Therefore, three-point lighting mainly includes the following three lights:
- Main light: It is usually used to illuminate the main objects in the scene and their surrounding areas, and to project the main objects. The main chiaroscuro is determined by the main light, including the direction of projection.
The task of the main light can also be completed by several lights as needed. For example, when the main light is at the position of 15 degrees to 30 degrees, it is called front light; when it is at the position of 45 degrees to 90 degrees, it is called side light; when it is at the position of 90 degrees to 120 degrees, it is called side light. The main light is usually done with a spotlight.
The key light creates the atmosphere of the scene. Depending on its location and the supplemental lights used in the overall lighting, it can create a high-key image or a low-key image.
- Auxiliary light: also known as fill light. Use a spotlight to illuminate the fan-shaped reflective surface to create a uniform, non-directed, soft light source that fills in shadows and areas of the scene that are missed by the subject light, reconciles the contrast between light and dark areas, and creates depth and depth of field. Layers, and this wide and even lighting feature makes it a base for the scene and defines the tone of the scene. In order to achieve the effect of soft lighting, the brightness of the auxiliary light is usually only 50%-80% of the main light.
Mirroring the key light on the other side of the camera, the fill light actually fills in the shadows the key light creates on the subject, bringing out detail in the dark. Usually, this fill light is not as bright as the main light. Cinematographers control the overall feel of a shot based on how dim or bright the fill light is.
Dim fill lights with high fill ratios produce high-contrast black film-type shadows, while brighter lights with lower, more balanced ratios make subjects appear more even. Along with the key light, the fill light determines the mood of the scene.
- Background light: Its function is to increase the brightness of the background, thereby setting off the subject and separating the subject object from the background. Generally, floodlights are used, and the brightness should be dark and not too bright.
The third light source in this lighting technique, a backlight (also called “rim light” or “glow”) shines on the subject from behind, completing the lighting setup. This creates a ray or outline around their head, pushing the subject away from the background and giving a sense of depth.
Typically, cinematographers place the backlight directly behind the subject or high enough out of the frame, opposite the key light, and pointing towards the back of the subject’s neck.
3. The placement
The order of lighting is usually:
- First determine the position and intensity of the main light.
- Determine the intensity and angle of the fill light.
- Assign background light and decorative light.
The lighting effect produced in this way should be able to achieve a clear distinction between primary and secondary, and complement each other. And once the lights are all set, add depth and character by adding color filters. For example, add warm tones to the main light and cool tones to the side lights.
4. The particulars
There are a few places to pay special attention to lighting:
- The lighting should be fine and not too much. Too many lights make the work process cluttered and difficult to handle, and display and rendering speed can be severely affected. Only the necessary lights are kept.
In addition, pay attention to the use of light projection, shadow maps and material maps. It is best to use maps where maps can be used to replace lights.
For example, to express the effect of bright lights in a window viewed from outside at night, it is much more convenient to use self-illumination maps, and the effect is also very good, instead of using lights to simulate. Do not set the light at will, otherwise the success rate will be very low. For dispensable lights, we must resolutely not to reserve.
- Lighting should reflect the light and dark distribution of the scene, and it should be hierarchical. All lights should not be treated uniformly. Choose different types of lights according to your needs, such as spotlights or floodlights; decide whether the light is projected or not and the concentration of shadows according to your needs; decide the brightness and contrast of the lights according to your needs.
If you want to achieve a more realistic effect, you must work hard on the light attenuation. You can use the method of temporarily turning off some lights to eliminate interference and set other lights better.
- Be aware that the lighting in MAX can be surreal. To learn to use the “exclude” and “include” functions of lights to determine whether lights play a role in lighting or projection of an object.
For example, to simulate the lighting and projection effects of candlelight, we usually place a floodlight at the position of the candle wick. If the light does not cast shadows on the body of the candle, then the large shadow cast by the body of the candle on the table might give us a lot of headaches. In the architectural renderings, the “exclusion” method is often used to make the lights not produce lighting or projection effects on certain objects.
- Lighting should follow a process from theme to local, from simple to complex. For the formation of lighting effects, you should first adjust the angle to set the main style, and then adjust the attenuation and other characteristics of the light to enhance the sense of reality. Finally, adjust the color of the light to make detailed changes. If you want to realistically simulate the effects of natural light, you must also have a deep enough understanding of natural light sources. It will be helpful to read more books on photography light and do more experiments.
The lighting used for different occasions is also different. In the production of indoor renderings, in order to show a resplendent effect, the color of some main lights is often set to a faint orange, which can achieve the effect that the material is not easy to achieve.
5. Conclusion
Three-point lighting is relatively simple, the more you practice, the more skilled you will use it, and the more you try, the more fun you will have. We practice this traditional lighting method more, and we can make some innovations on top of it.
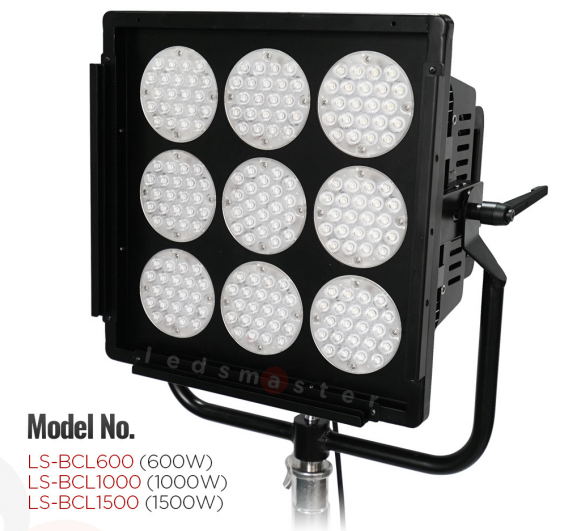
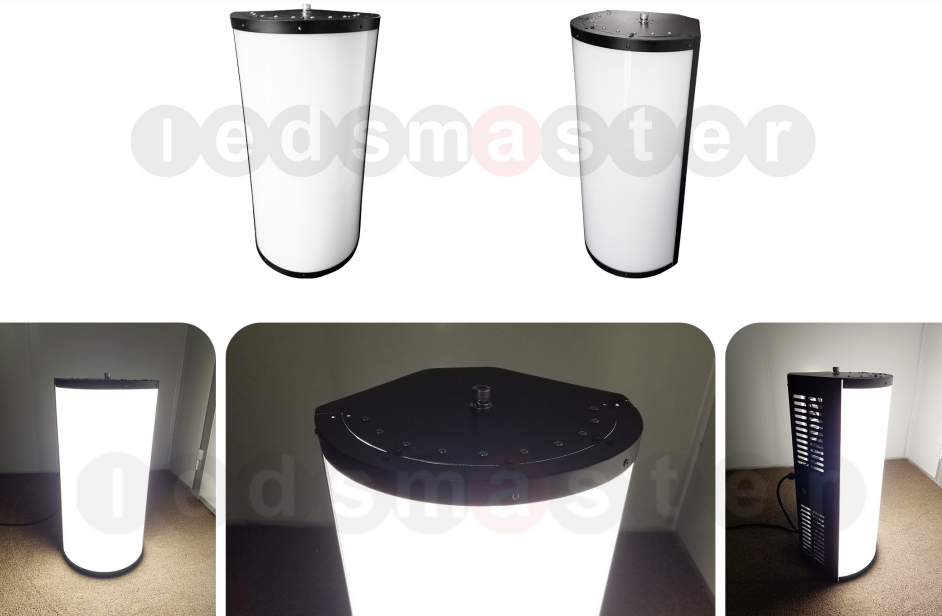
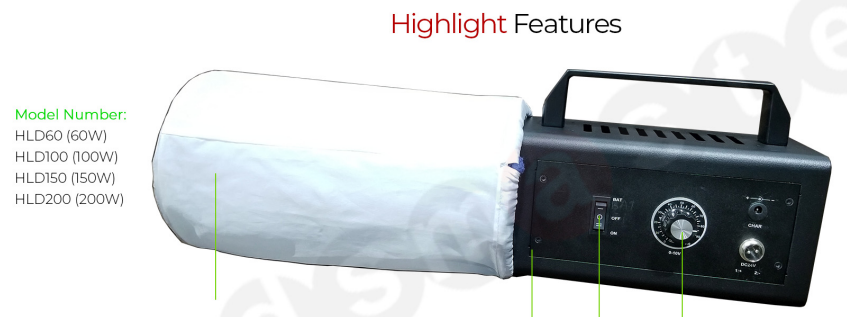
LedsMaster Lighting Company has specially developed film and television lighting equipment for this purpose, including Bi-color LED video lights, circular LED studio soft lights, 2-in-1 continuous LED lighting equipment, 2-in-1 360° LED photography lights, handheld and Rechargeable LED video lights and many other patented professional film and television lighting equipment, whether through the three-point lighting method or other more responsible methods, LedsMaster Lighting Company’s products can provide lighting for film and television shooting well , is definitely the right-hand man for lighting engineers and photographers in the filming studio!
Discovering new things is a lot of fun in video shooting, let’s enjoy shooting together!
